Floors and Ceilings behave very similarly in Revit. Both utilize the sketch mode and require you to create boundary lines to form the extents of the ceiling or floor. They are also "system families" in Revit, which means that you'll need to duplicate an existing type to create a new type.
The floors and ceilings tools are locating on the Build panel of the Home tab on the Ribbon.
Once you select the tool, your screen workspace will change to sketch mode, allowing you to create the boundaries for the floor (pink lines) using various line tools or the pick wall tool. Lines must form closed loops and cannot intersect each other.
Once you've created your boundary lines, you exit sketch mode and "finish" the floor command by clicking the green check on the ribbon.
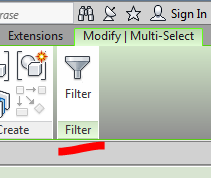
In order to edit a floor that is no longer in sketch mode, you'll need to select the floor and choose "edit boundary" from the ribbon. Selecting floors can be somewhat tricky since you are required to select their boundary line which is often hidden by walls or other elements. Use your tab key or select multiple elements and use the filter tool to get just the floors.
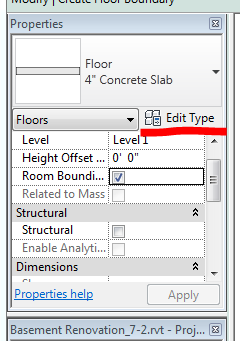
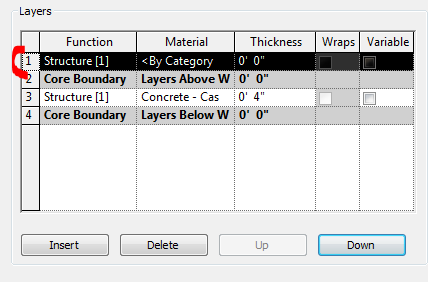
To create new floor types (ie. with different finishes and/or thicknesses) you'll need to perform an operation similar to creating new wall types. From the properties menu select the "edit type" button of a floor, and duplicate the type. With the new wall type created, select "edit" next to the structure tab and create the finish and structural layers as needed.
With the new floor type created, you can change out your previously drawn floor, or draw new floors using that type.
If you are not seeing the hatch patterns of your floor materials, you'll need to adjust their visibility in the Visibility and Graphics Override menu (VV). Often by default, the surface patterns are set to hidden.


No comments:
Post a Comment